Easy-to-Make Drying Trays
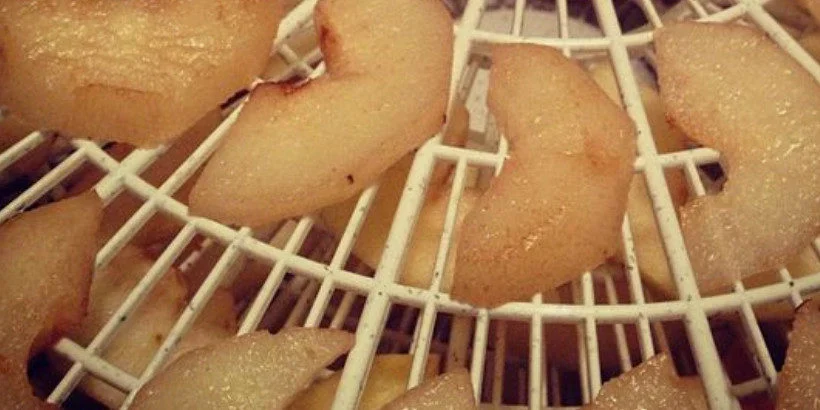
Looking for a new way to enjoy the benefits of your garden all year long? Follow this easy tutorial for making drying trays to expand the lifespan of fruits, vegetables, and herbs.
The following is an excerpt from Preserving Food Without Freezing or Canning by The Gardeners & Farmers of Terre Vivante. It has been adapted for the web.
Making Drying Trays for Food
Food is usually dried on a flat surface, such as a tray or screen, using a natural or artificial heat source. Solar drying is obviously the preferred method because it consumes only the sun’s energy and that energy is free. Trays should be placed in a dry, well-ventilated spot, generally out of the direct sun, or in specially designed solar dryers.
In lieu of natural sunshine, we can take advantage of the heat generated by a radiator, kitchen range, wood stove, or oven. If all these are lacking, we can settle for a low-wattage electric food dehydrator. Several models are available for home use.
Variation 1: Screened Drying Trays (60” x 20”)
Materials
- Square battens (cross section 1.25″ x 1.25″)
- Flat battens (cross section 1⁄8″ x 1.25″)
- 20″-wide roll of galvanized metal or rigid plastic screen with fine mesh (25–50 mm or 1–2 sq. in.)
- Nails (2″ and 1″ long)
Procedure
- First assemble the square battens to form a frame sixty inches long by twenty inches wide. To make the frame more rigid, add one or two square battens across the middle. Hammer the frame together with 2-inch nails.
- Unroll the screening and flatten it against the frame using the flat battens to hold it in place.
- Fasten with 1-inch nails. This creates the bottom of the tray.
- The tray is now ready to use. Note that the trays can be stacked to save space.
Henry Rouy, Cournon-D’Auvergne
Variation 2: Small Multipurpose Dryer (for those with limited space)
Materials
- Two 24″ x 2.5″ boards
- Two 14″ x 2.5″ boards
- Small wooden laths (strips)
- Small nails
Procedure
This is a basket that can be hung from a beam or a nail, in the cellar or kitchen. It is very simple to make.
- Make the sides of the basket with the four boards. Then nail the small wooden laths three-quarters of an inch apart to make the bottom.
- To make the handle, add two small boards of the same length as the basket to each side. Connect them with a round stick.
- You can dry cheese, mushrooms, prunes, and herbs for infusions, for example, by placing some netting over the bottom of the basket.
This small dryer is easy to move and clean.
Nicole Mansard, St. Julien-Chapteuil
Recommended Reads
Recent Articles
Cheese is milk’s destiny. Be inspired by the celebration of milk-in all its forms-especially the transformation of milk into cheese through natural cheesemaking
Read MoreTry your hand at preserving veggies by freezing them! Freezing vegetables is a quick, simple way to preserve them for winter meals.
Read MoreThe possibilities are pretty much endless with wild ingredients — use almost any fresh fruit or juice and a sweetener to create your own custom jam or syrup!
Read MoreDid you know that more than just the seeds of a sunflower are edible? Almost every part of a sunflower are completely safe and delicious when cooked correctly.
Read More
